How to create a product in sales application?
To create a product in Metro ERP's Sales App, follow these steps:
1) Go to the "Sales" module by clicking on its icon in the main dashboard or using the application menu.

2) Inside the Sales module, look for the "Products" menu or "Products & Services" menu. This is where you can manage your products.
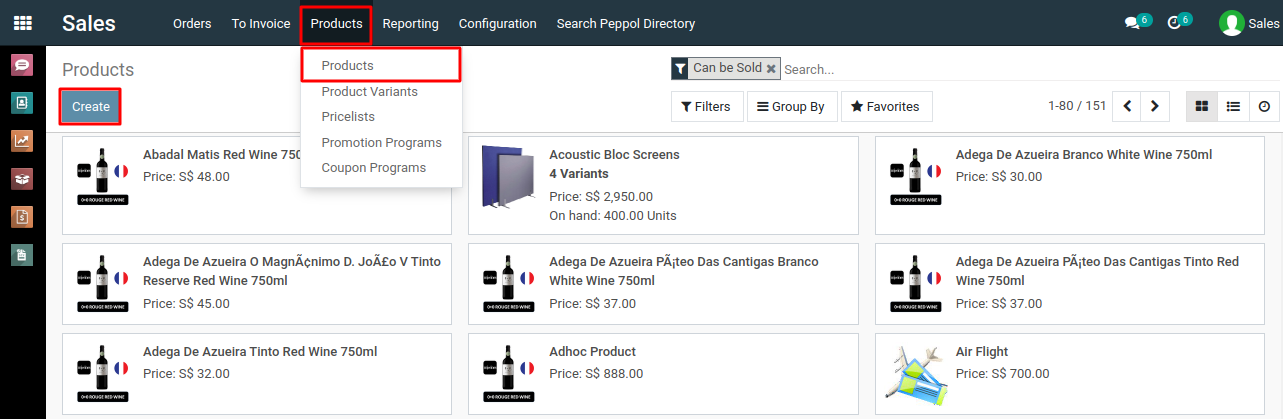
3) Click on the "Create" button to start creating a new product.
4) Fill in the details for the product you want to create:
∙ Product Name: Enter a name for the product.
∙ Product Type: Choose the appropriate product type (e.g., Storable Product, Consumable, Service).
Note: Storable product calculates inventory stock, consumable and service product type doesn't maintain stock.
∙ Product Category: Assign the product to a category if you've set up product categories.
5) Fill in the details for the pricing and inventory:
∙ Set the product's sale price and cost price.
∙ If the product is stockable, you can manage its inventory by enabling the "Inventory" option and
specifying the "Initial Quantity on Hand."
6) Fill in the details for the sales and purchase:
∙ Set the sales-related details such as taxes, sale unit of measure, and optional description.

7) Fill in the details for the other information:
∙ You can add additional information such as internal reference, barcode, and more.
∙ Attach images or documents related to the product if needed.
8) Click the "Save" button to create the product.
9) Once the product is created, you can use it in sales orders and quotations. When you create a new sales order or quotation, you can search and select the product from the list.
To create a product, please do contact us at support@metrogroup.solutions