How to schedule an activity in an invoicing application?
To schedule an activity in Metro ERP's Invoicing App, follow these steps:
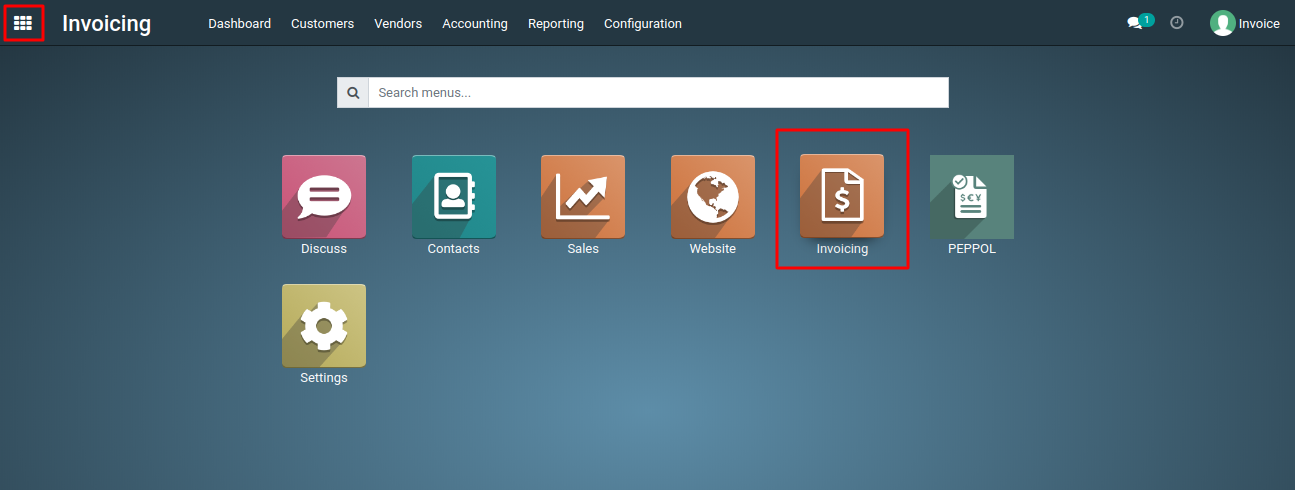
1) Go to the "Invoicing" module by clicking on its icon in the main dashboard or using the application menu.
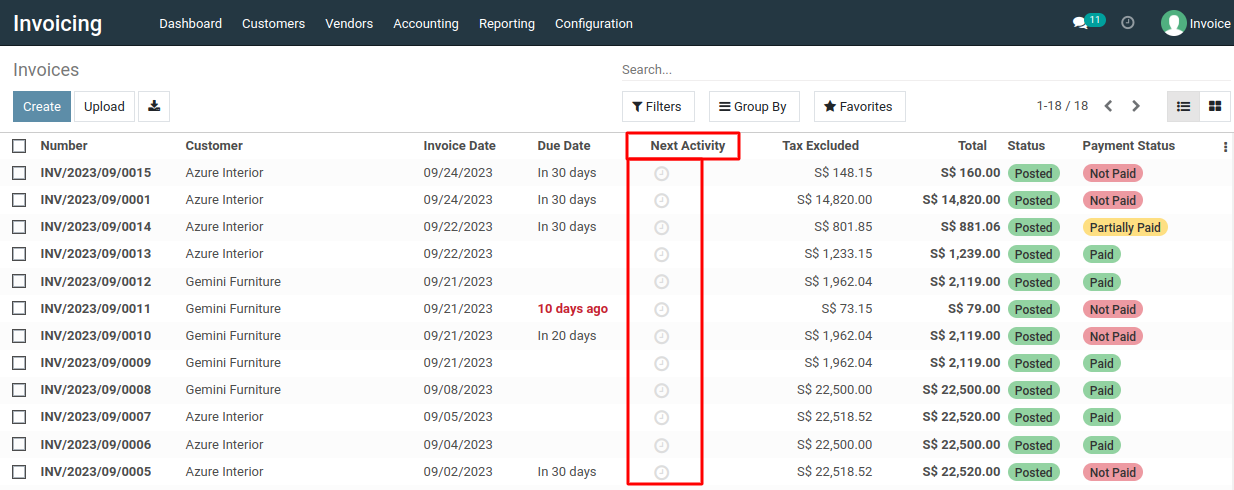
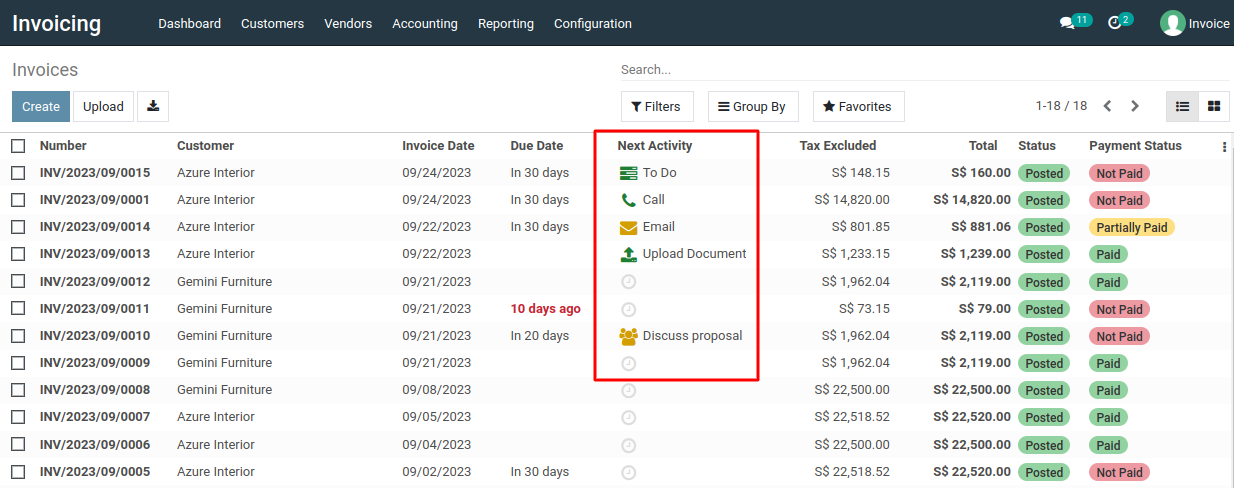
2) In the invoice form, locate the 'Next Activity' column, and click the 'Schedule an Activity' button.
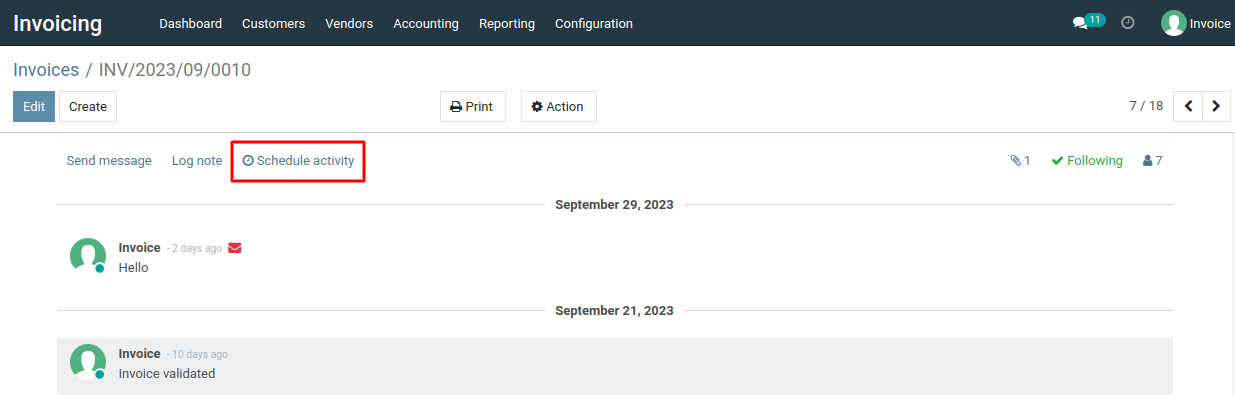
3) Alternatively, you can use the 'Schedule activity' button located under the invoice form to specify the desired activity.
4) In the pop-up window, specify the details of the new activity, including its name, due date, responsible person, and any notes or description.
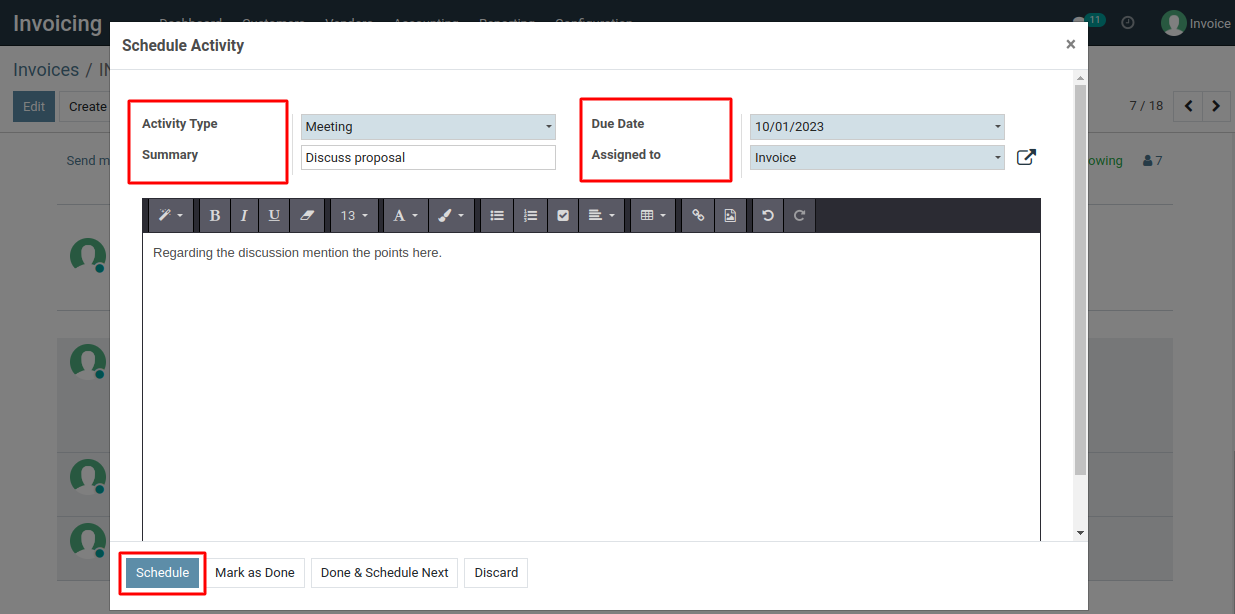
5) Choose the type of activity from options like "To Do","Call," "Meeting," "Email," etc., based on the nature of the task.
6) Click the "Schedule" button to add the activity to the invoice.
7) The newly created activity will now appear under the "Next Activity" column of the invoice list and also be displayed below the invoice form.
To schedule an activity, please do contact us at support@metrogroup.solutions