How to create new invoice in invoicing application?
To create new invoice in Metro ERP's Invoicing App, follow these steps:
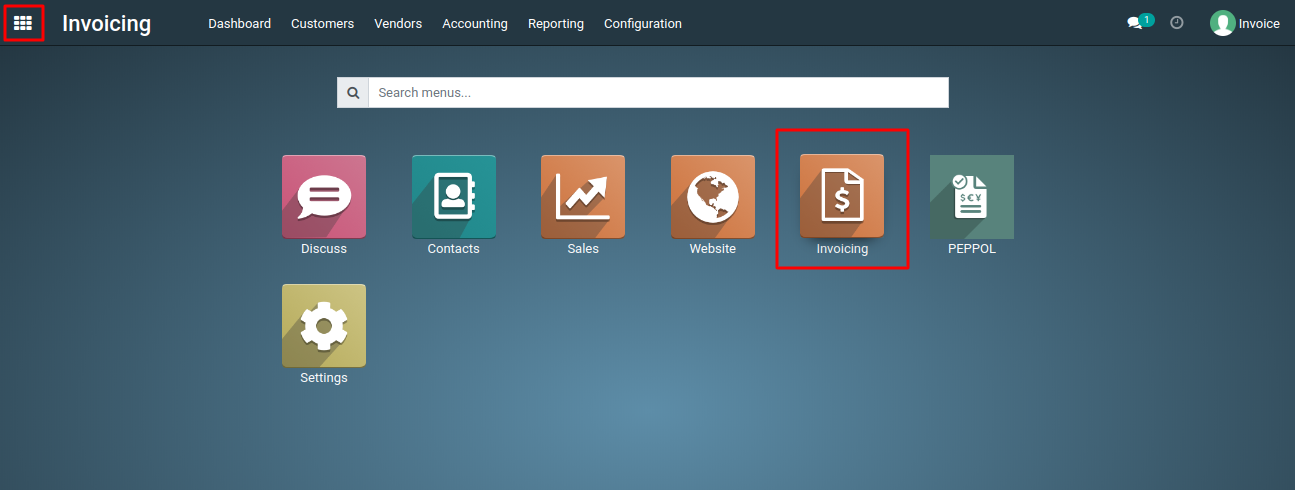
1) Go to the "Invoicing" module by clicking on its icon in the main dashboard or using the application menu.
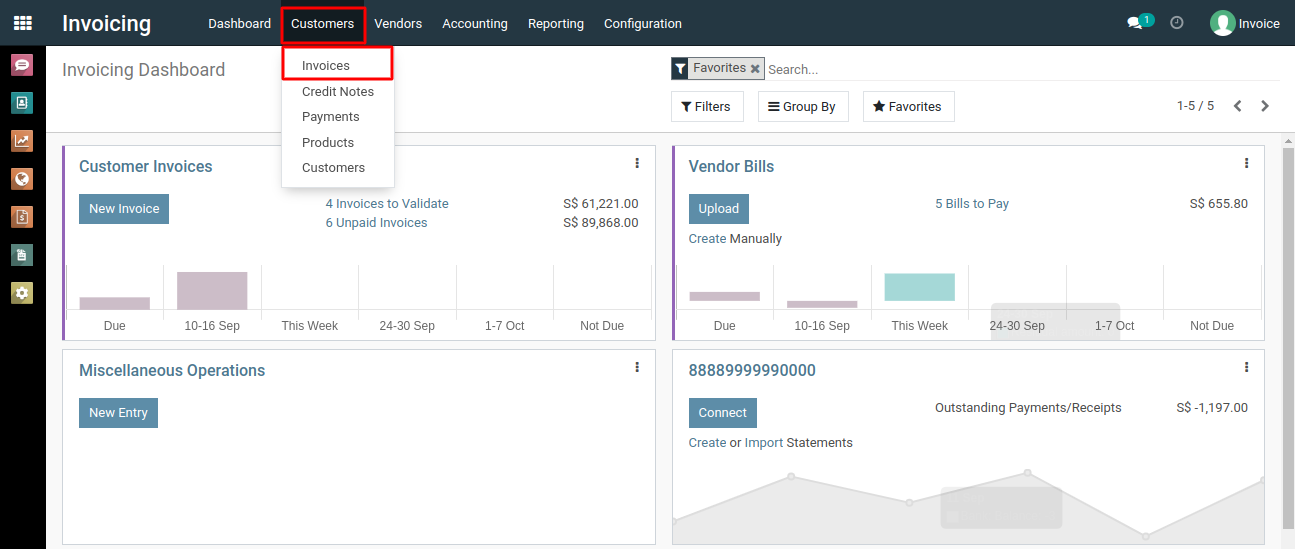
2) Inside the Invoicing module, go to the "Customers" menu and then select "Invoices."
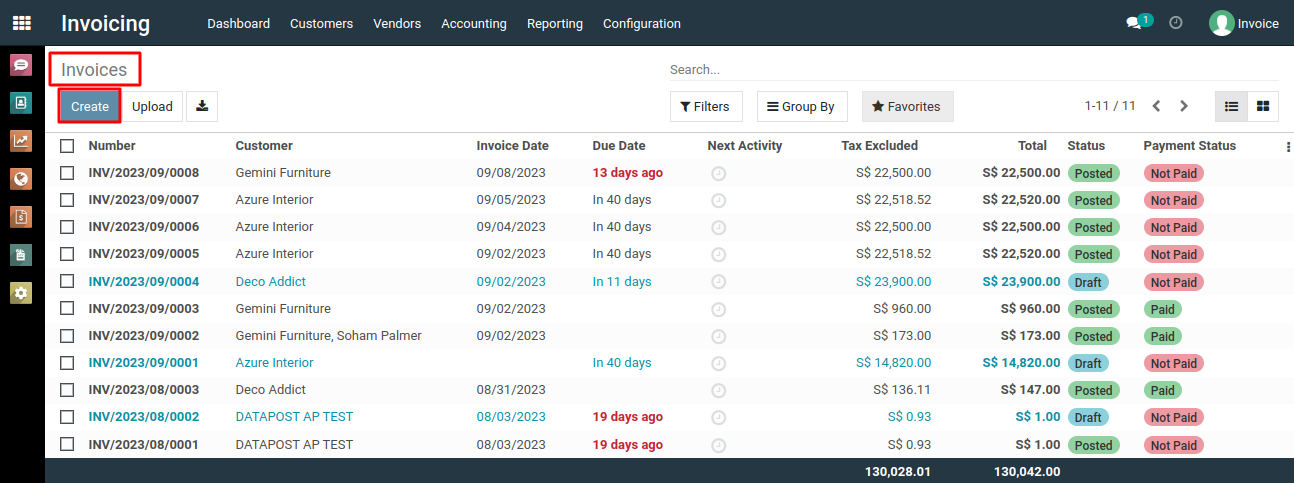
3) To create a new invoice, click the "Create" button. This will open a new invoice form.
4) Fill in the invoice details, including the customers, invoice date, due date, payment terms, journal and any additional information.
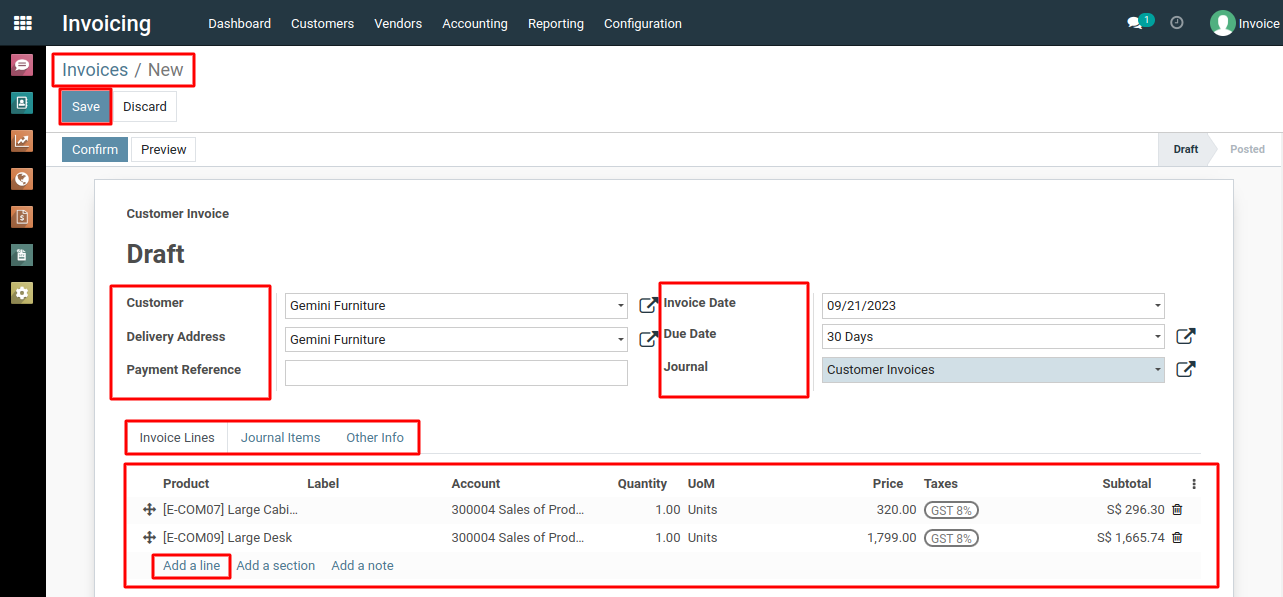
5) To add invoice lines, go to the invoice lines section, click "Add a Line," select products or services from the dropdown, and enter quantity, unit price, and taxes for each line. Repeat for multiple items if needed.
6) The system will calculate the total amount, taxes, and the final invoice amount based on the invoice lines you've added.
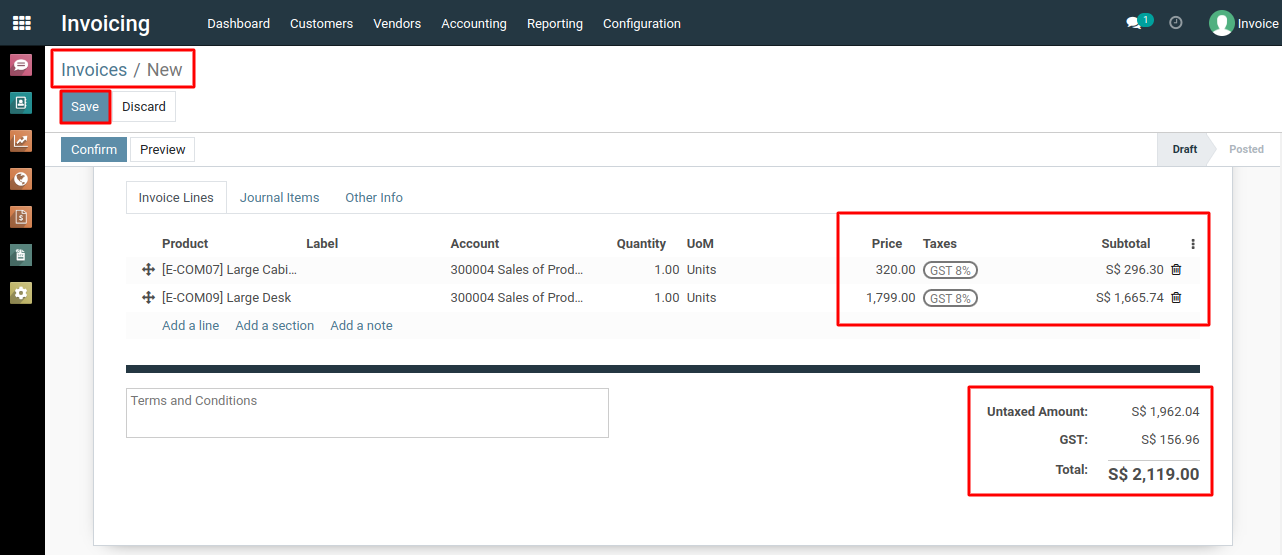
7) Review the invoice for accuracy, then click "Save" button to create and save it.
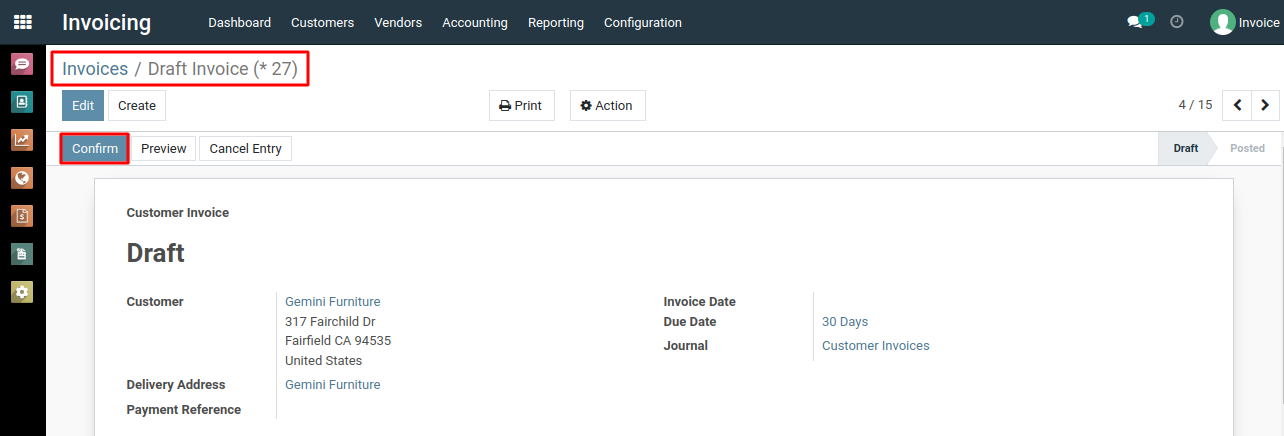
8) After saving the invoice, click on "Confirm" button.
9) Click on the "Send & Print" button to email the invoice to the recipient.
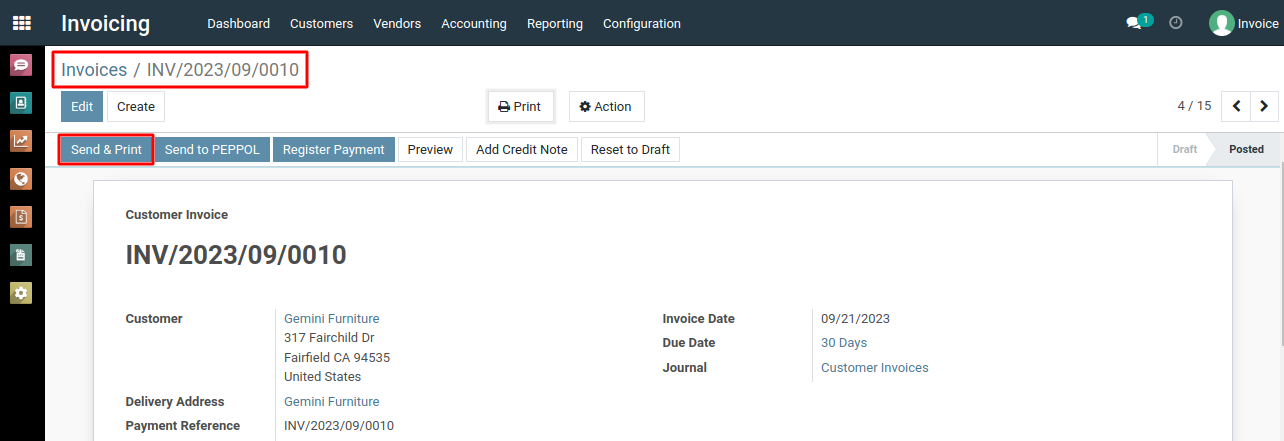
10) If necessary, you can print the invoice by selecting the checkboxes for printing options.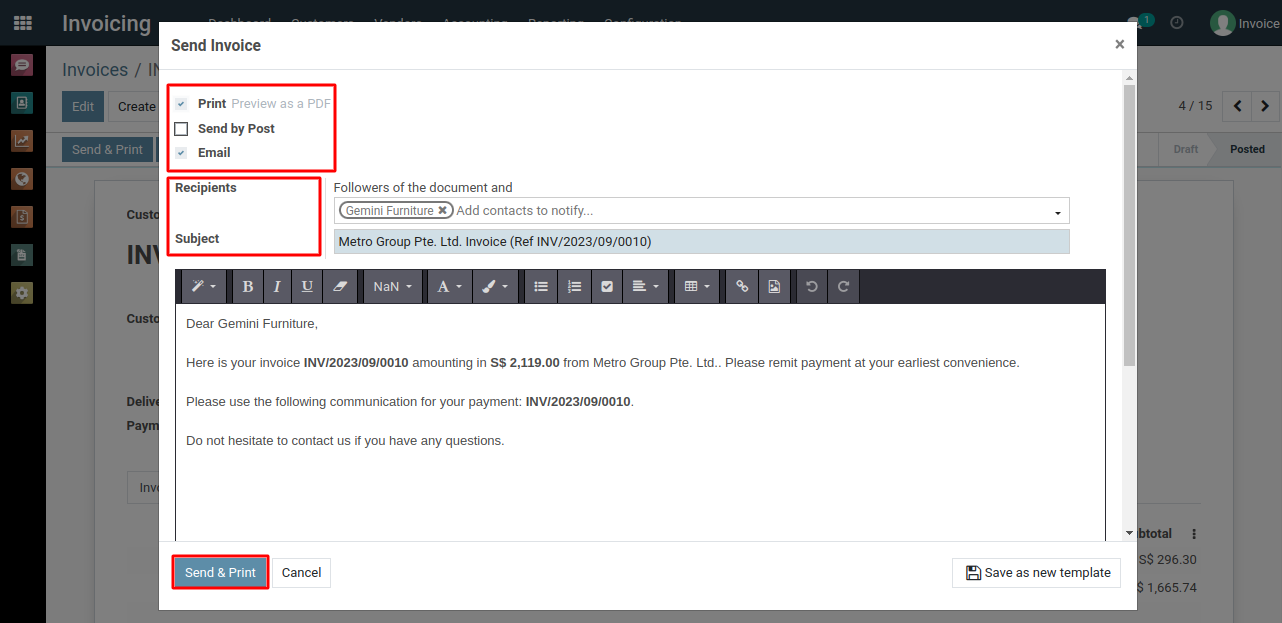
To create new invoice, please do contact us at support@metrogroup.solutions