How do I configure chart of accounts in the invoicing application?
To configure chart of accounts in Metro ERP's Invoicing App, follow these steps:
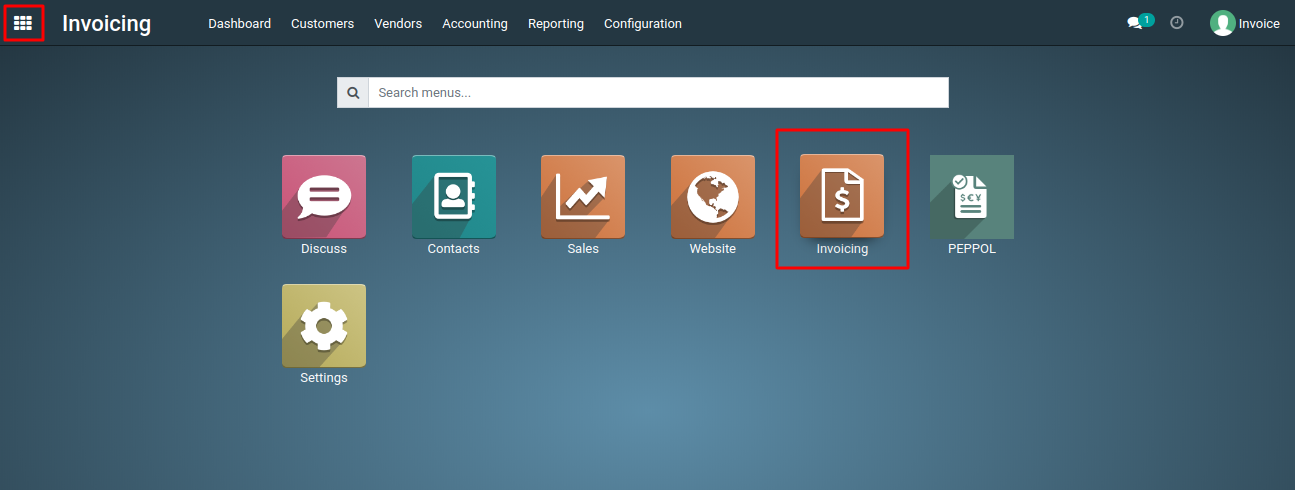
1) Go to the "Invoicing" module by clicking on its icon in the main dashboard or using the application menu.
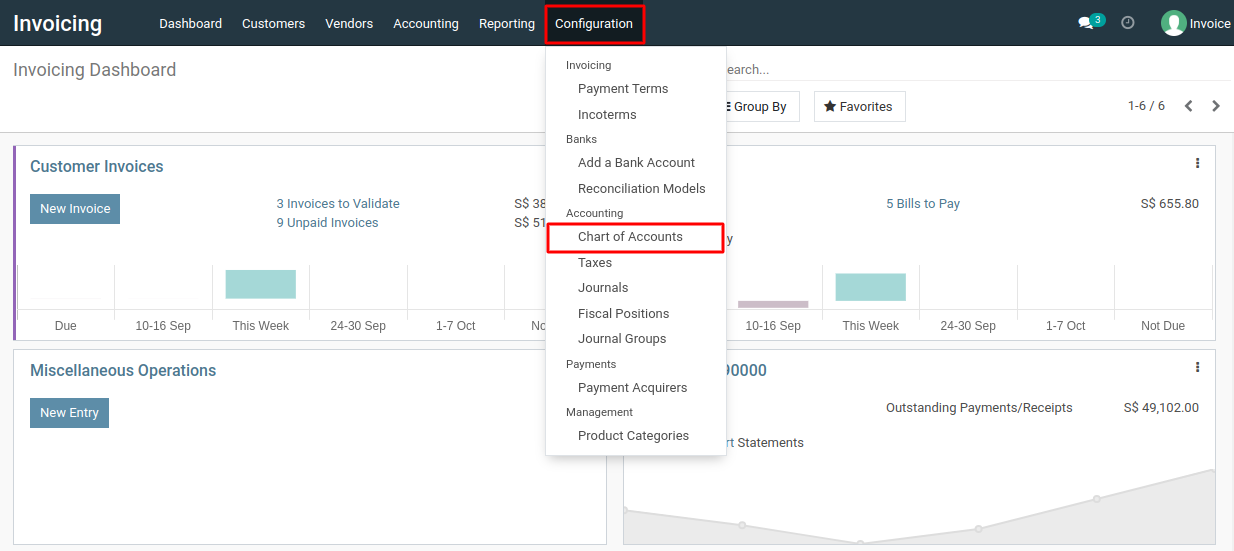
2) Inside the Invoicing module, navigate to the "Configuration."
3) Look for an option "Chart of Accounts" and select it.
4) Metro ERP allows you to choose from various predefined chart of accounts templates based on your country and accounting standards. Select the appropriate chart of accounts that matches your business requirements. If your country or accounting standards are not available in the predefined options, you may need to create a custom chart of accounts.
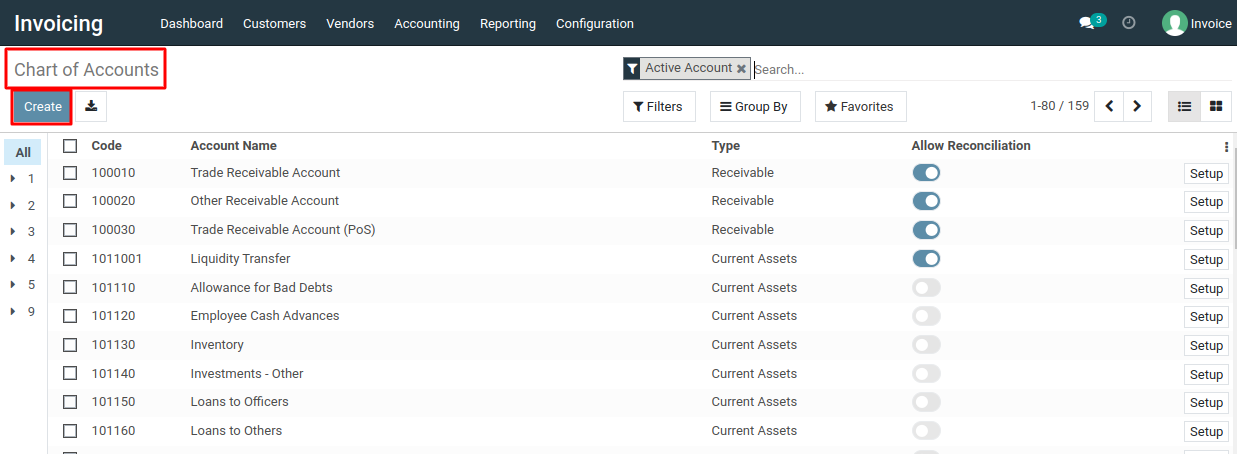
5) Once you've selected the chart of accounts, apply it to your company by confirming the selection. Metro ERP will populate your account chart with the predefined account templates based on the chosen chart of accounts.
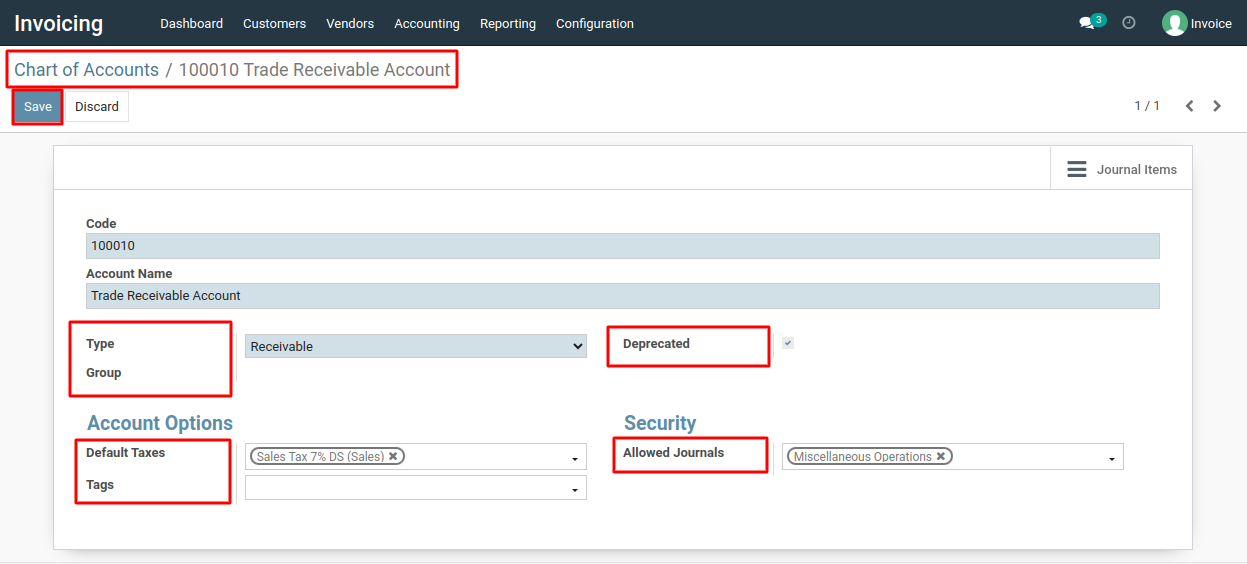
6) After applying the chart of accounts, review the accounts that have been created. You can customize and edit these accounts as needed to align with your specific business needs. This may involve modifying account names, account types, default tax codes, and other account details.
To configure chart of accounts, please do contact us at support@metrogroup.solutions