How to use expiration date in products in the inventory application?
To use expiration date in product in Metro ERP's Inventory App, follow these steps:
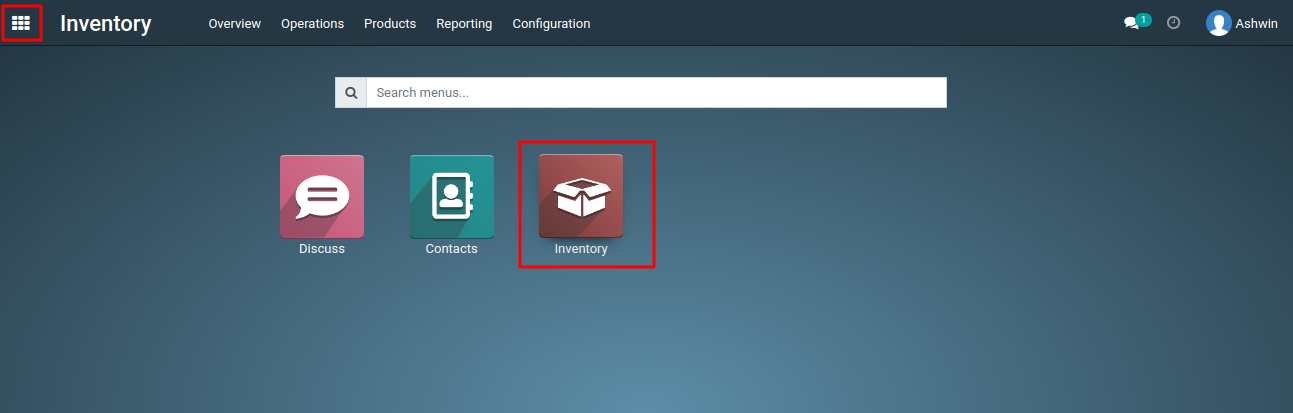
1) Go to the "Inventory" module by clicking on its icon in the main dashboard or using the application menu.
2) Inside the Inventory module, look for the "Products" menu. This is where you can manage your products.
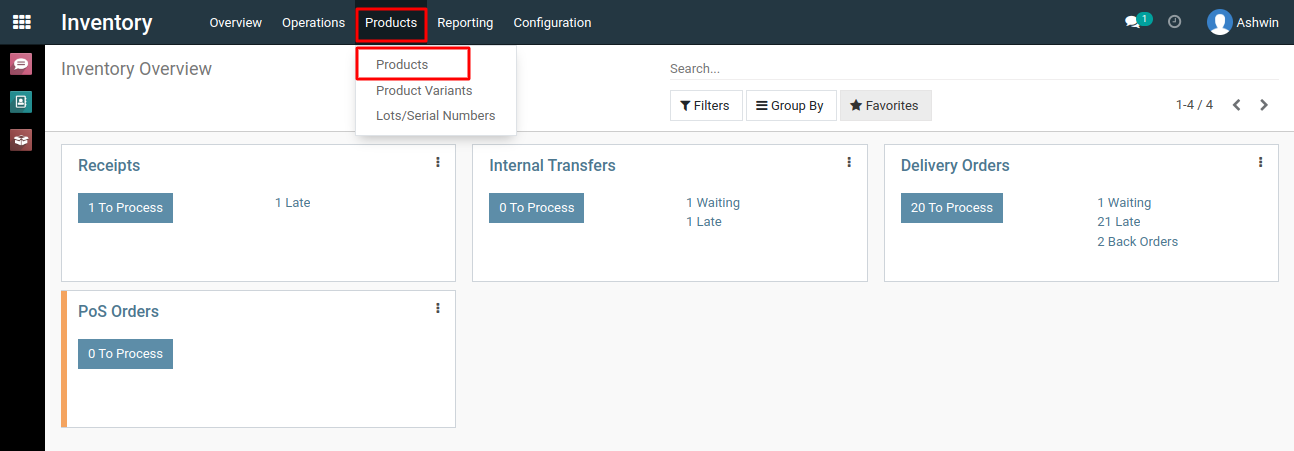
3) Click on the product for which you want to set an expiration date.
4) In the product form, go to the "Inventory" tab, navigate to the 'Traceability' section, and select the "Tracking" field as either "By Unique Serial Number" or "By Lots."
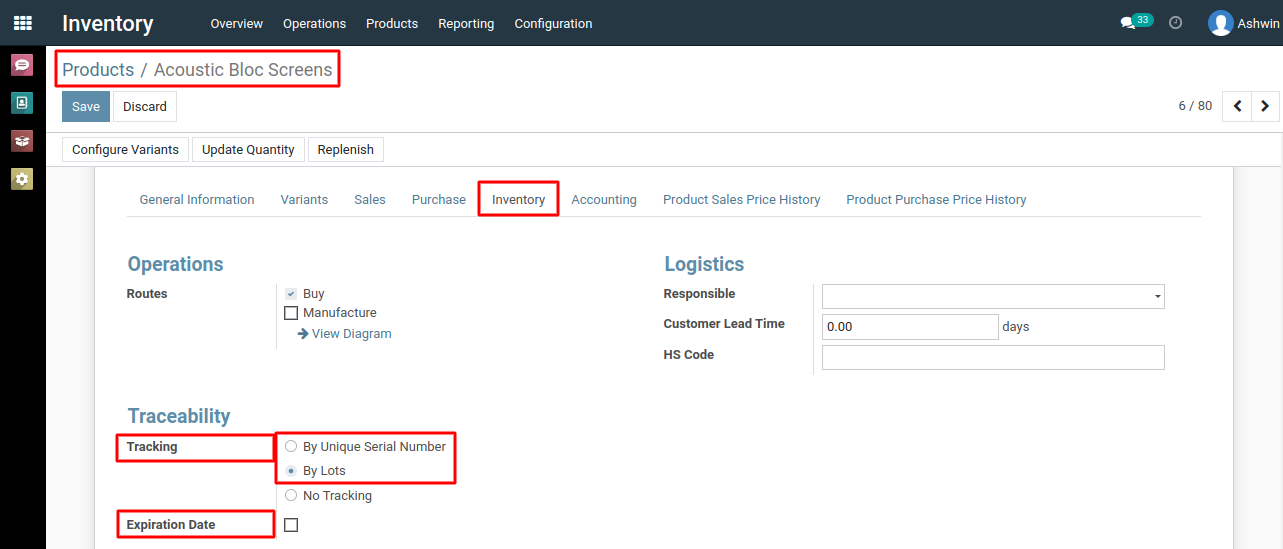
5) After selecting tracking, an expiration date field will appear below the tracking fields, labeled as "Expiration Date."
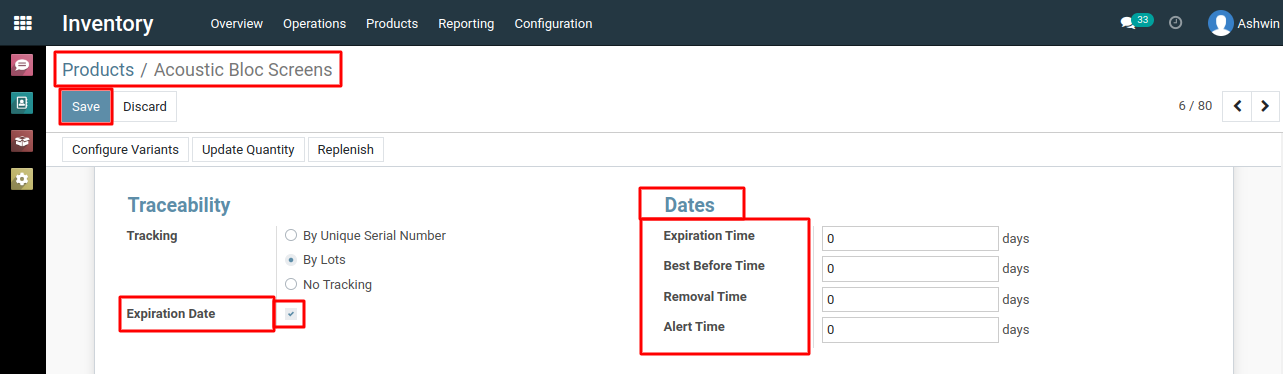
6) For products that have expiry dates, enter the relevant expiry date by checking the checkbox, and then click on the 'Save' button.
7) Now, when you perform inventory operations such as goods receipt, transfer orders, and delivery orders, you can specify the expiry dates for products.
8) Metro ERP will track and manage product batches based on their expiry dates, helping you ensure that products are used before they expire.
Search Products Based on Expiry Date in Metro ERP.
9) Inside the Inventory module, look for the "Products >> Lots/Serial Numbers" menu.

View Lots/Serial Numbers.

10) In the filter options, choose the filter that allows you to select the option you want.We can select the " Expiration Alerts "


To enable the features to set expiry dates for products using lots & serial numbers in Metro ERP's Inventory: Click Here
To use expiration date in product, please do contact us at support@metrogroup.solutions