How can I do inventory adjustment in inventory application?
To perform inventory adjustments in Metro ERP's Inventory App, follow these steps:
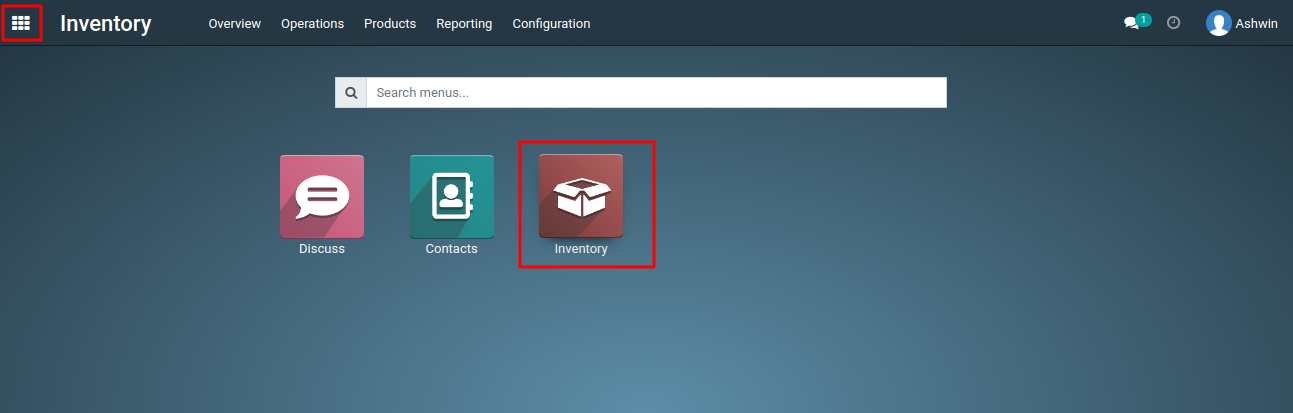
1) Go to the "Inventory" module by clicking on its icon in the main dashboard or using the application menu.
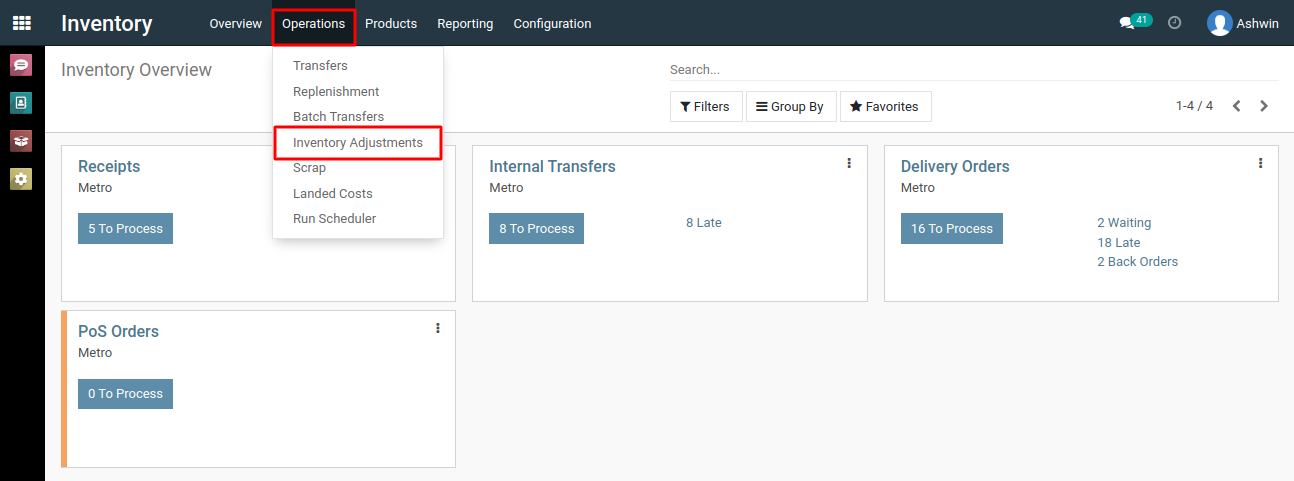
2) Inside the Inventory module, look for the "Operations" menu, then navigate to "Inventory Adjustments." This is where you can create a new inventory adjustments.
3) Click on the 'Create' button to initiate a new inventory adjustment.

4) In the form that appears, provide the necessary details for the new inventory adjustment. Specify the location for which you intend to adjust the inventory, which could be a warehouse, stockroom, or any other defined location, and add the products you wish to adjust in terms of quantities.
5) After specifying all the relevant details, click the "Save" button.
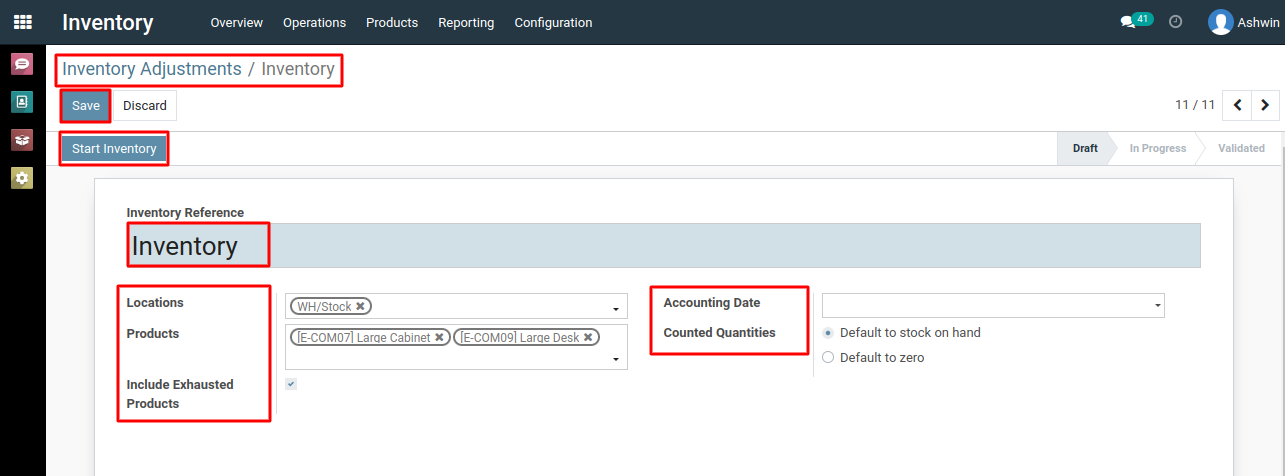
6) Next Click on the "Start Inventory" button.
7) Specify the newly counted quantity for the products.This will calculate the "Difference" in quantity by comparing the quantity you currently have "On Hand" with the "Counted" quantity.
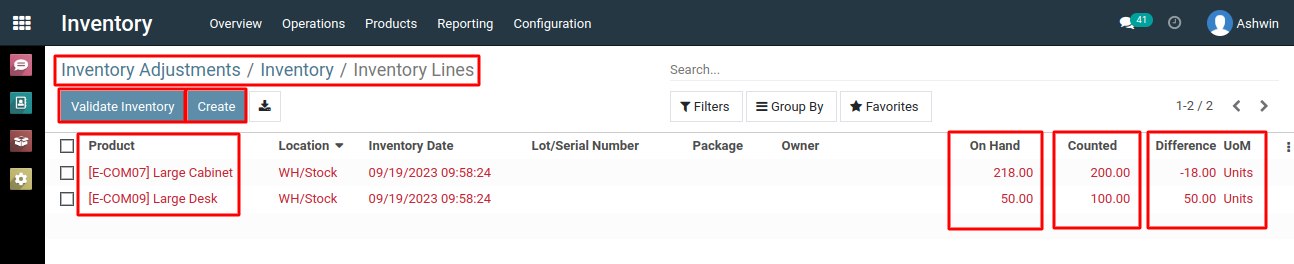
8) Review the adjustments you've made to ensure their accuracy. This step is crucial to avoid discrepancies in your inventory records. After confirming the adjustments, validate the inventory adjustment by clicking on the 'Validate Inventory' button to apply the changes to your inventory.
9) Once validated, the inventory adjustments are applied to your inventory records. Stock quantities are updated according to the adjustments you've made.
To perform inventory adjustments, please do contact us at support@metrogroup.solutions